Get ready to rev up the excitement at your next celebration with a dirt bike cake that will have everyone racing to the dessert table. Whether it's a birthday bash for a motocross aficionado or a themed party for an adventurous spirit, this detailed guide will walk you through every step of creating a show-stopping dirt bike cake that looks as impressive as it tastes.
Planning and Preparation: Before you kickstart the baking process, it's essential to have a clear plan in mind. Begin by envisioning the design of your dirt bike cake. Will it feature a miniature edible dirt bike atop a rugged terrain of frosting, or perhaps a realistic dirt track scene? Once you've decided on the design, gather all the necessary ingredients and equipment. You'll need cake mix, frosting, food coloring, fondant, piping bags, and various decorating tools.
Baking the Base: Start by baking your cake according to the instructions on the mix. For a dirt bike cake that stands out, consider using a rectangular cake pan to create a larger canvas for your design. Once baked and cooled, level the cake layers to ensure a flat surface for decorating. If you're feeling adventurous, experiment with different flavors and colors to add layers of excitement to your creation.
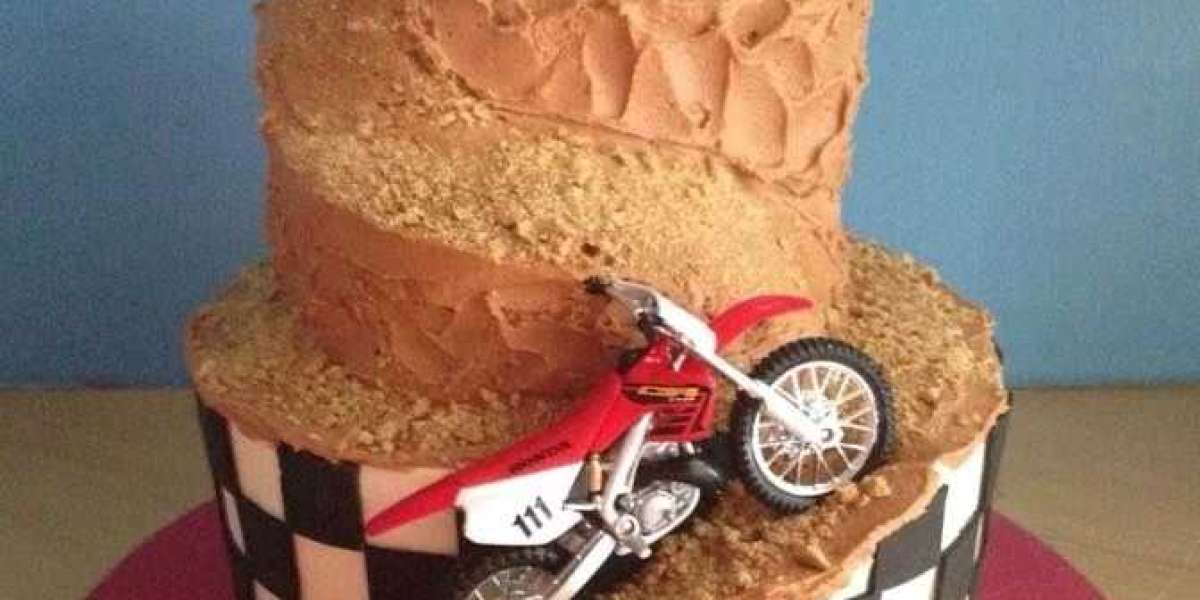
Crafting the Terrain: To achieve the rugged look of a dirt track, it's time to get creative with frosting. Apply a generous layer of chocolate frosting to the top and sides of the cake, using a spatula to create uneven textures resembling dirt mounds and trails. Don't worry about perfection—imperfections add to the authenticity of the terrain. For added depth, mix cocoa powder or crushed cookies into the frosting to mimic the appearance of dirt.
Sculpting the Dirt Bike: Now comes the pièce de résistance—the edible dirt bike. Roll out fondant in the desired colors for the bike frame, wheels, and accents. Use reference images or toy dirt bikes as inspiration for shaping the fondant into miniature motorcycle components. Pay close attention to details such as handlebars, exhaust pipes, and wheels to capture the essence of a real dirt bike. Once sculpted, carefully place the fondant pieces atop the cake using edible adhesive or frosting.
Finishing Touches: No dirt bike cake is complete without a few finishing touches to bring the design to life. Use green frosting to create patches of grass along the edges of the track, and add edible rocks or candy pebbles for added realism. For an extra dose of adrenaline, consider incorporating edible figurines of riders navigating the course or small flags marking the finish line. Finally, add personal touches such as a birthday message or celebratory banners to make the cake truly unique.
Conclusion: With a little creativity and attention to detail, you can whip up a dirt bike cake that will leave your guests in awe. Whether you're celebrating a birthday, graduation, or any special occasion, this guide provides all the ingredients for a memorable dessert that combines your love for baking with the thrill of off-road adventure. So rev up those engines and get ready to indulge in a delicious slice of excitement!