dirt bike tire changer enthusiasts know the importance of maintaining dirt bike tire changer. One crucial aspect is tire changing, a skill that every rider should master. Whether it's for routine maintenance or emergency repairs on the trail, knowing how to dirt bike tire changer is essential. In this guide, we'll walk you through the process step by step, ensuring you're equipped with the knowledge and confidence to tackle this task effectively.
Understanding the Basics Before diving into tire changing, it's essential to understand the components involved. dirt bike tire changer typically consist of the tire itself, inner tube, rim lock, and valve stem. The rim lock prevents the tire from rotating on the rim under acceleration or braking forces, while the valve stem allows for inflation and deflation. Familiarizing yourself with these parts will make the tire changing process smoother.
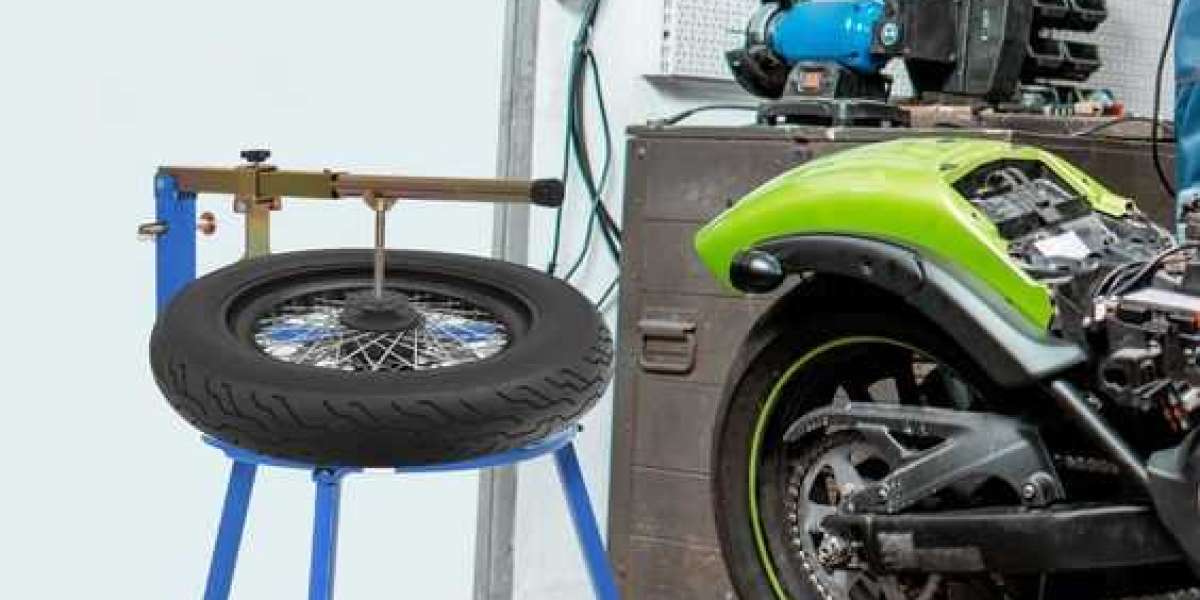
Gathering the Necessary Tools To change a dirt bike tire efficiently, you'll need a set of specific tools. These include tire irons or levers, a bead breaker, valve core remover, tire lubricant, and a tire pressure gauge. Additionally, having a stable work surface and access to an air compressor will facilitate the process. Ensuring you have all the required tools beforehand will save you time and frustration during tire changing.
Preparing the Work Area Before starting, it's crucial to prepare your work area properly. Find a flat, clean surface to work on, preferably with ample space to maneuver around the bike. Ensure your tools are organized and within reach. If possible, elevate the bike using a stand to make tire removal and installation easier. Taking the time to set up your workspace will streamline the tire changing process.
Removing the Wheel Begin by removing the wheel from the bike. Loosen the axle nut and axle pinch bolts using the appropriate tools. Once loosened, slide the axle out of the wheel hub, taking care not to lose any spacers or washers. With the axle removed, carefully extract the wheel from the bike's swingarm, being mindful of any brake calipers or chain tensioners. Place the wheel on your work surface, ready for tire removal.
Breaking the Bead The next step is to break the bead of the tire from the rim. Using a bead breaker or the back of a tire iron, apply downward pressure to the tire sidewall near the rim. Work your way around the tire, gradually breaking the bead free from the rim on both sides. Once the bead is sufficiently loosened, you can proceed to remove the tire from the rim.
Removing the Tire With the bead broken, use tire irons or levers to pry the tire off the rim. Start at a point opposite the valve stem to avoid damaging the tube. Carefully work the tire irons around the rim, gradually levering the tire over the edge until it can be pulled off by hand. Take care not to pinch or puncture the inner tube during this process.
Inspecting and Preparing the Rim With the tire removed, take the opportunity to inspect the rim for any damage or debris. Clean the rim surface thoroughly to ensure a proper seal when installing the new tire. Check the rim lock and valve stem for proper functionality and integrity. If any components are worn or damaged, replace them before proceeding.
Installing the New Tire Now it's time to install the new tire onto the rim. Begin by applying a small amount of tire lubricant to the inside of the tire bead and the rim surface. This will ease installation and help prevent damage to the tire and tube. With the tire lubricated, start by seating one side of the tire bead onto the rim, ensuring it sits evenly all the way around.
Inflating and Seating the Tire Once the tire is partially seated on the rim, insert the inner tube into the tire, making sure it's positioned correctly with the valve stem aligned with the valve hole in the rim. Begin inflating the tube gradually, taking care not to pinch it between the tire and rim. As the tire inflates, continue to work the remaining bead onto the rim using tire irons or levers.
Reinstalling the Wheel With the tire fully seated and inflated, it's time to reinstall the wheel onto the bike. Slide the wheel back into the swingarm, ensuring proper alignment with the chain and brake components. Reinsert the axle through the wheel hub, making sure to tighten the axle nut and axle pinch bolts securely. Check the wheel alignment and chain tension before tightening all fasteners to the manufacturer's specifications.
Conclusion Mastering the art of dirt bike tire changer is a valuable skill that every rider should possess. By understanding the process and following these steps diligently, you can confidently tackle tire changes with ease. Remember to prioritize safety and attention to detail throughout the process, ensuring your bike is ready for whatever adventure lies ahead.